When inserting images into your posts and pages, you can have your text wrap around them to promote a more attractive flow of content. This is a snap using the left and right alignment icons in your Visual Editor.
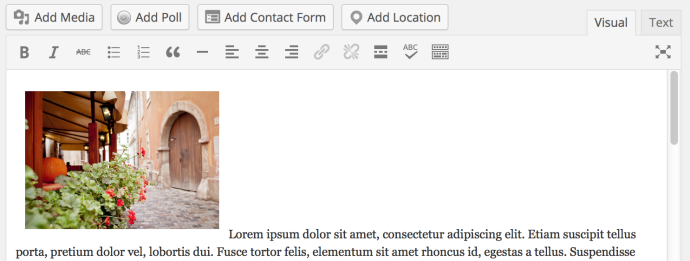
To begin, place your cursor at the beginning of any paragraph in the current post or page:

Click the Add Media button above the editing area. Insert your image.

After the image appears in the editor, click on the image once, and click either the left or right alignment button to modify the position of the image and how text wraps around it. Here are examples of both:
Left Alignment

Right Alignment

Side by Side
If you would like to see images appear side by side on the same line, put the images next to each other and give them both either left or right alignment. Make sure the images are small enough that they will both fit on one line, including borders and margins. Otherwise, one of the images will be bumped to the next line. If this happens, you can resize the images so that they can fit side by side.
No Text Wrapping
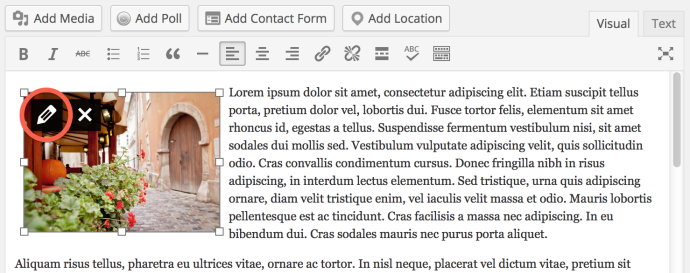
If you don’t want the text to wrap around your image, you can remove the left or right alignment from your images. Click the image in the editor and then click the pencil icon in the upper left:
In the Image Details screen that pops up, under Display Settings select None:
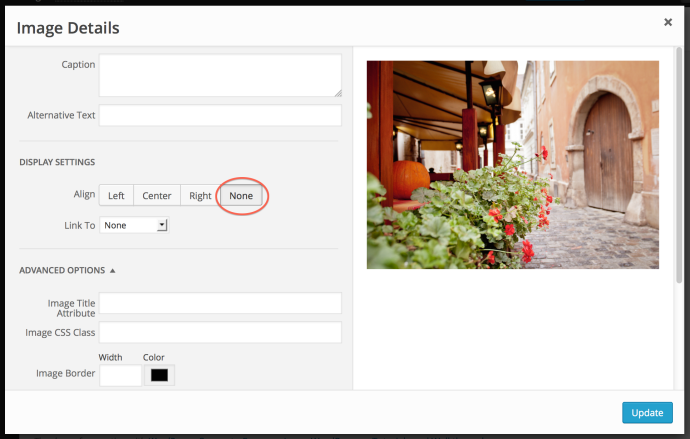
Click the Update button and the text will stop wrapping around your image: